Few foods are as universally loved as perfectly crispy breakfast strips. Golden, crunchy, and full of rich flavor, they have the power to elevate any breakfast plate, sandwich, salad, or brunch spread. Yet for many home cooks, cooking them can be frustrating—splattering grease, uneven browning, curling edges, or strips that go from soft to overcooked in seconds.
The good news? There’s a simple, reliable method that removes the guesswork and delivers consistent, crispy results every single time—without standing over a hot pan.
The secret is cooking them in the oven.
Why Oven-Baked Breakfast Strips Are the Best Method
Cooking breakfast strips in the oven may not be the traditional stovetop approach, but it’s widely considered the most effective technique by chefs and home cooks alike. Here’s why it works so well:
-
Even heat ensures uniform crispiness
-
Fat renders slowly, preventing burning
-
Minimal mess and no grease splatter
-
Hands-free cooking—perfect for busy mornings
-
Easy to cook large batches at once
Step-by-Step: How to Make Perfectly Crispy Breakfast Strips
1️⃣ Preheat the Oven
Preheat your oven to 400°F (200°C).
This temperature allows the strips to cook evenly while slowly releasing excess fat, resulting in a crisp—not greasy—texture.
2️⃣ Prepare the Baking Sheet
Line a rimmed baking sheet with aluminum foil or parchment paper to catch drips and make cleanup effortless.
Optional pro tip:
Place a metal wire rack on top of the baking sheet. This allows hot air to circulate underneath the strips, helping them cook evenly and become extra crispy.
3️⃣ Arrange the Strips
Lay the strips in a single layer, making sure they do not overlap.
Overlapping creates steam, which prevents proper crisping.
Spacing is the key to evenly cooked, crunchy strips.
4️⃣ Bake to Perfection
-
Regular-cut strips: 15–18 minutes
-
Thicker strips: 20–24 minutes
Cooking times may vary depending on thickness and brand, so begin checking during the final minutes.
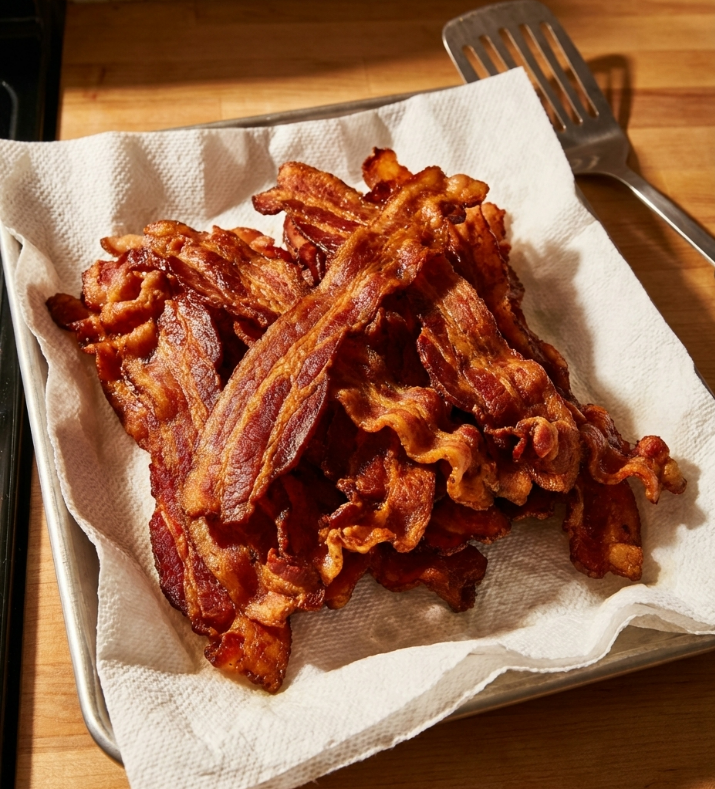
Once the strips turn a deep golden brown, remove them from the oven.
5️⃣ Drain and Rest
Transfer the strips to a plate lined with paper towels.
Let them rest for 1–2 minutes—this allows them to finish crisping as they cool slightly.
Custom Flavor Ideas
One of the biggest advantages of oven-baked breakfast strips is how easy they are to customize:
Continued on next page: